Tacky Baby Backy
Ribs Braised in Chilies and Pork Broth. Finished in a pan to messy hands perfection
PREP: 30mins || COOK: 3hrs || COOL: 10hr // 2nd COOK: 30mins
Rib Needs
1 Large Rack baby back ribs (buy the heaviest rack you find at the store)
4 Tbsp Dusseldorf mustard
3 Tbsp Light Brown Sugar
1 Tbsp Garlic Powder
1 Tbsp Black Pepper
1 Tbsp Kosher Salt
Braising Materials
1 Red Chili (Fresh)
1 Vidalia Onion
3in Nub Ginger Quartered
3 Sprigs of Sage
Juice and pulp of 1 Orange
4 Cups Pork Broth
1/2 Cup Dry Vermouth
Finishing Items
1 Tbsp Honey
1 1/2 Tsp Soy Sauce
1 Tsp Sriracha
Flake Salt
Rub & Prep the Ribs
Preheat the oven to 250 degrees
In a small bowl mix the brown sugar, garlic powder, black pepper, and salt prepping your dry rub
Wash the rack of ribs in cold water and pat dry (wash thoroughly, this will benefit the final sauces flavor)
Remove the silver skin from the back of the ribs (if you want)
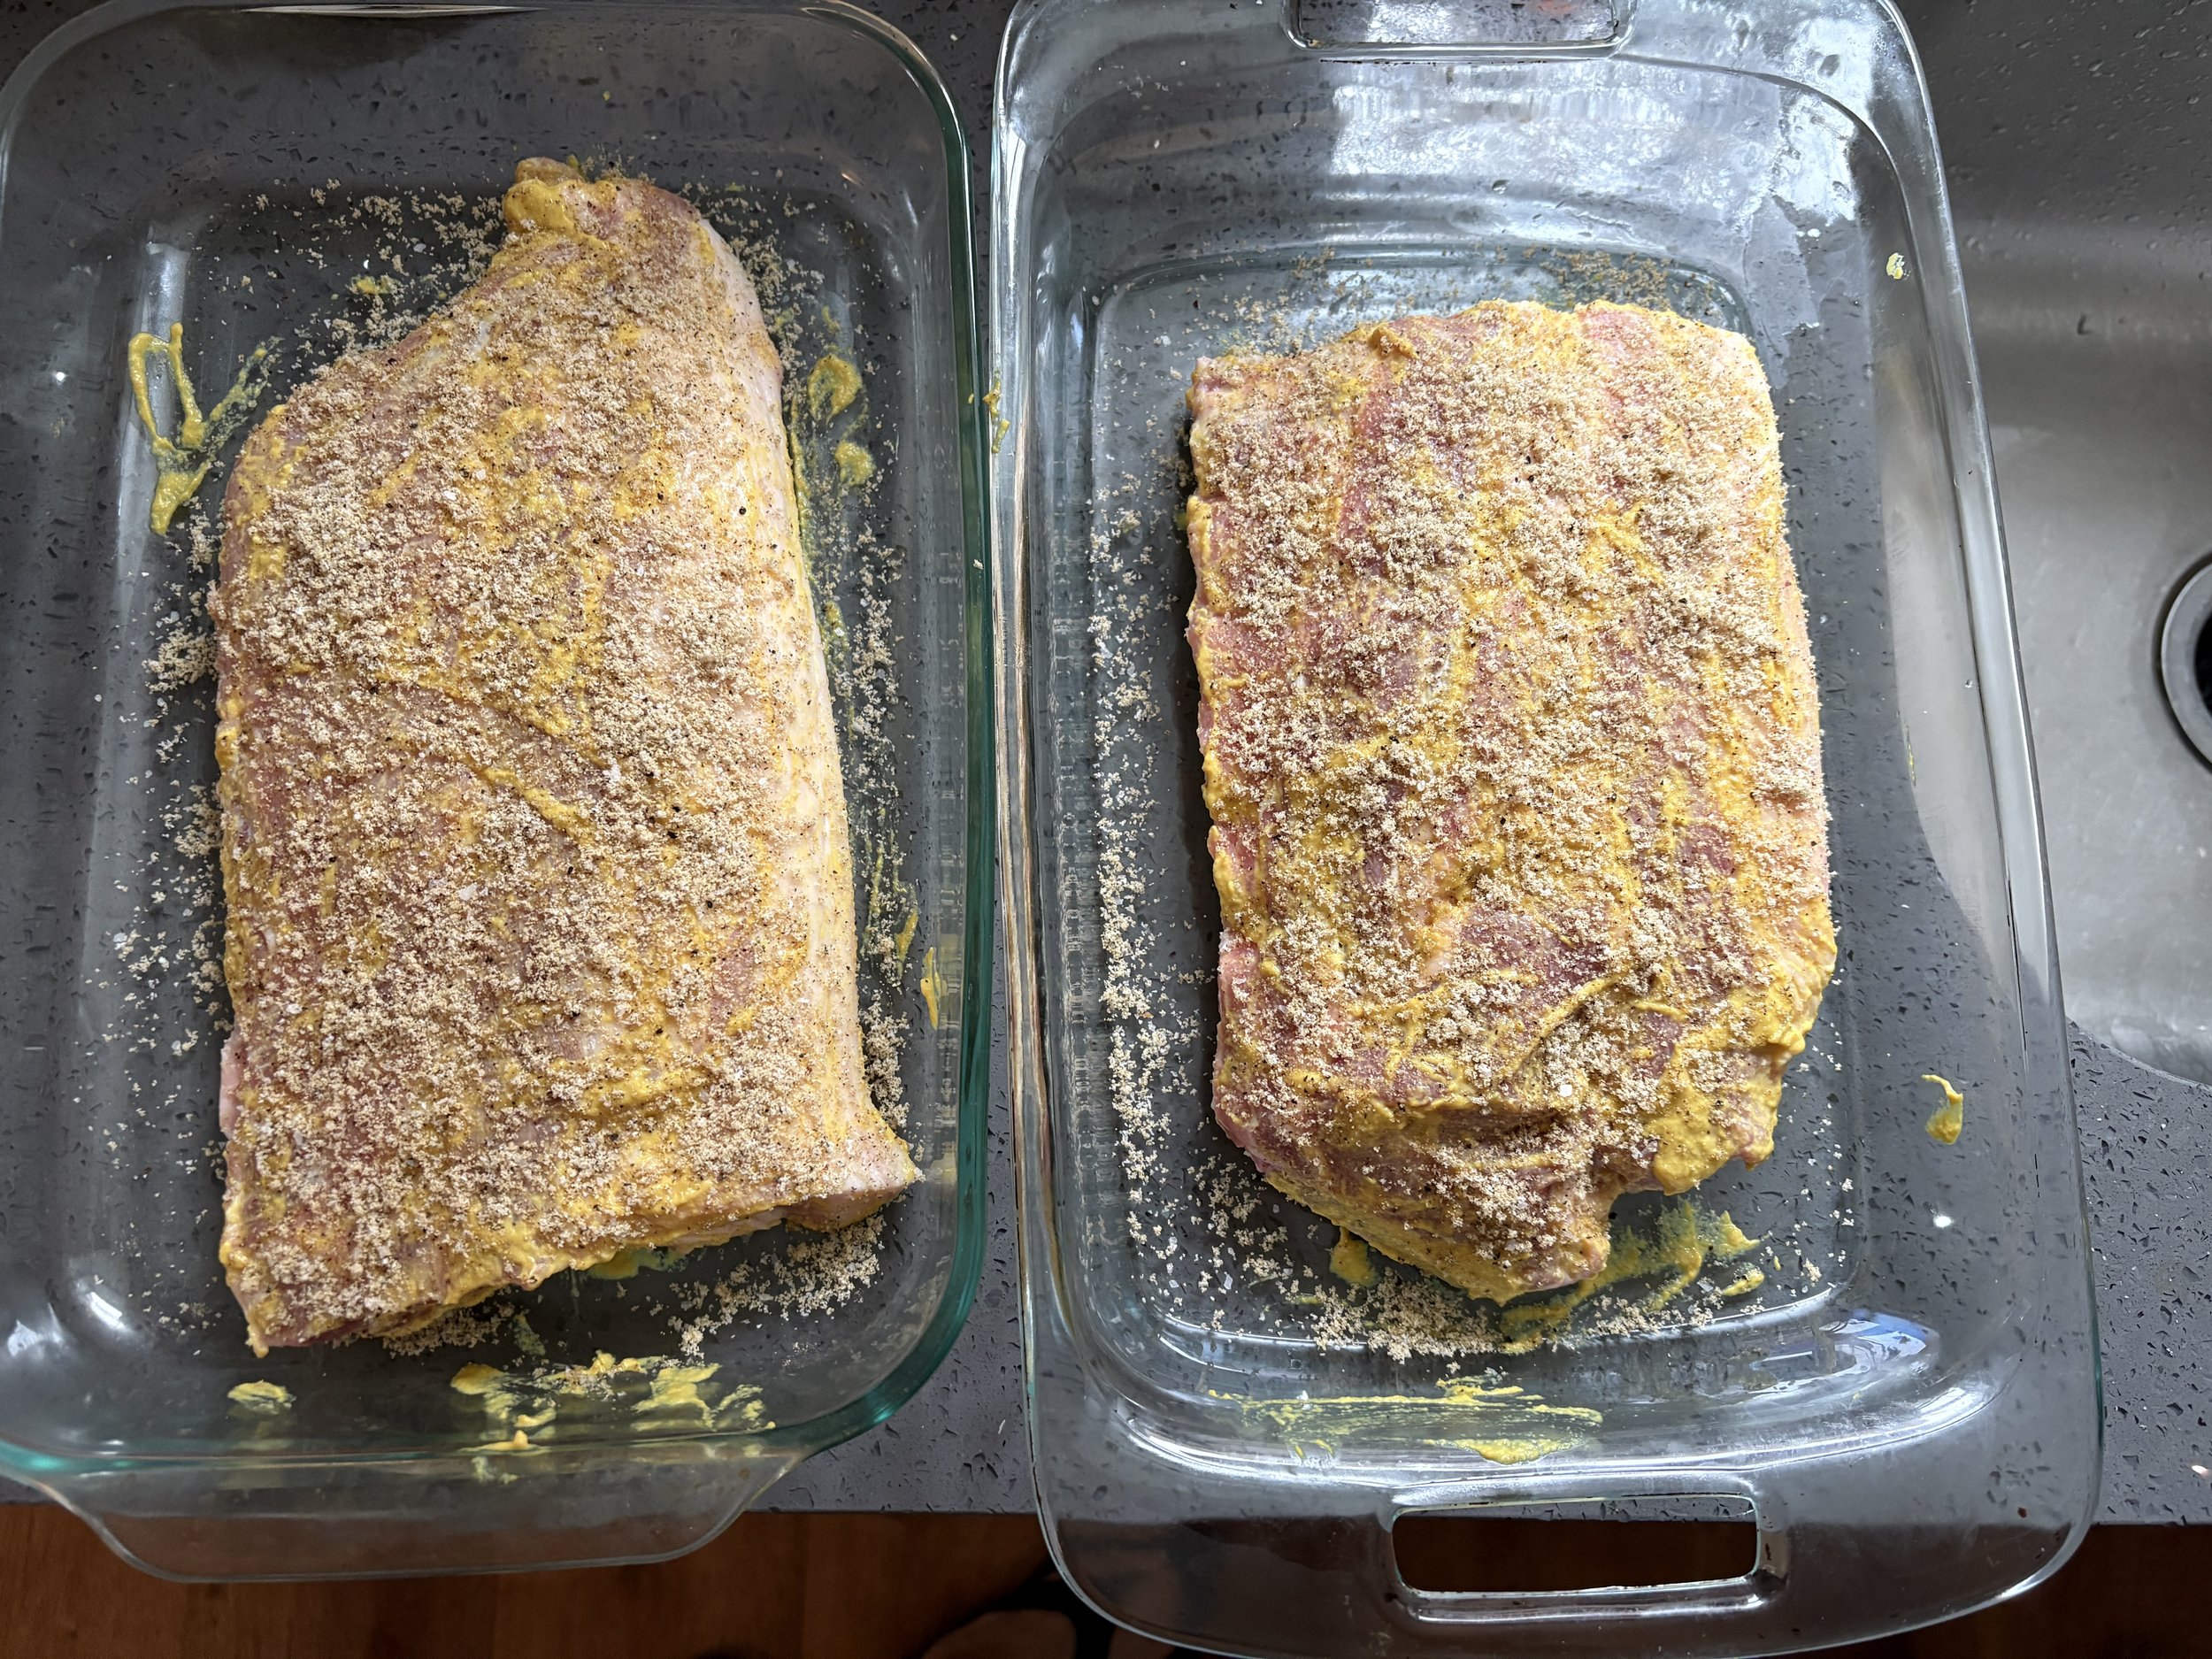
Cut the rack of ribs in to two equal sized halves, and place each bones up in their own 9x13in glass backing pan
Place 1 Tbsp of the mustard on the back side of each set of ribs and rub into form an even thin coat of mustard
Then shower a quarter of the dry rub onto each of the ribs coating as even as ya can
Flip the ribs over so they are facing up and repeat the mustard and dry rub steps for the tops of the ribs
Nestle the chillies, onions, sage, and ginger evenly around the ribs in each pan
Squeeze the juice out of the orange, half in each pan and toss in any extra pulp that comes out while squeezing
Pour in half the broth and half the vermouth into each pan, try to pour on the sides of the ribs to not disrupt the top of the dry rub
Cover twice in regular foil or once in heavy duty, and crimp the sides tight to form an airtight tray
Cook & Cool
Place the covered ribs in the oven and let cook for 3 hrs
When the ribs are finished braising remove the foil from the top of the pans and allow to cool until you can handle the ribs easily
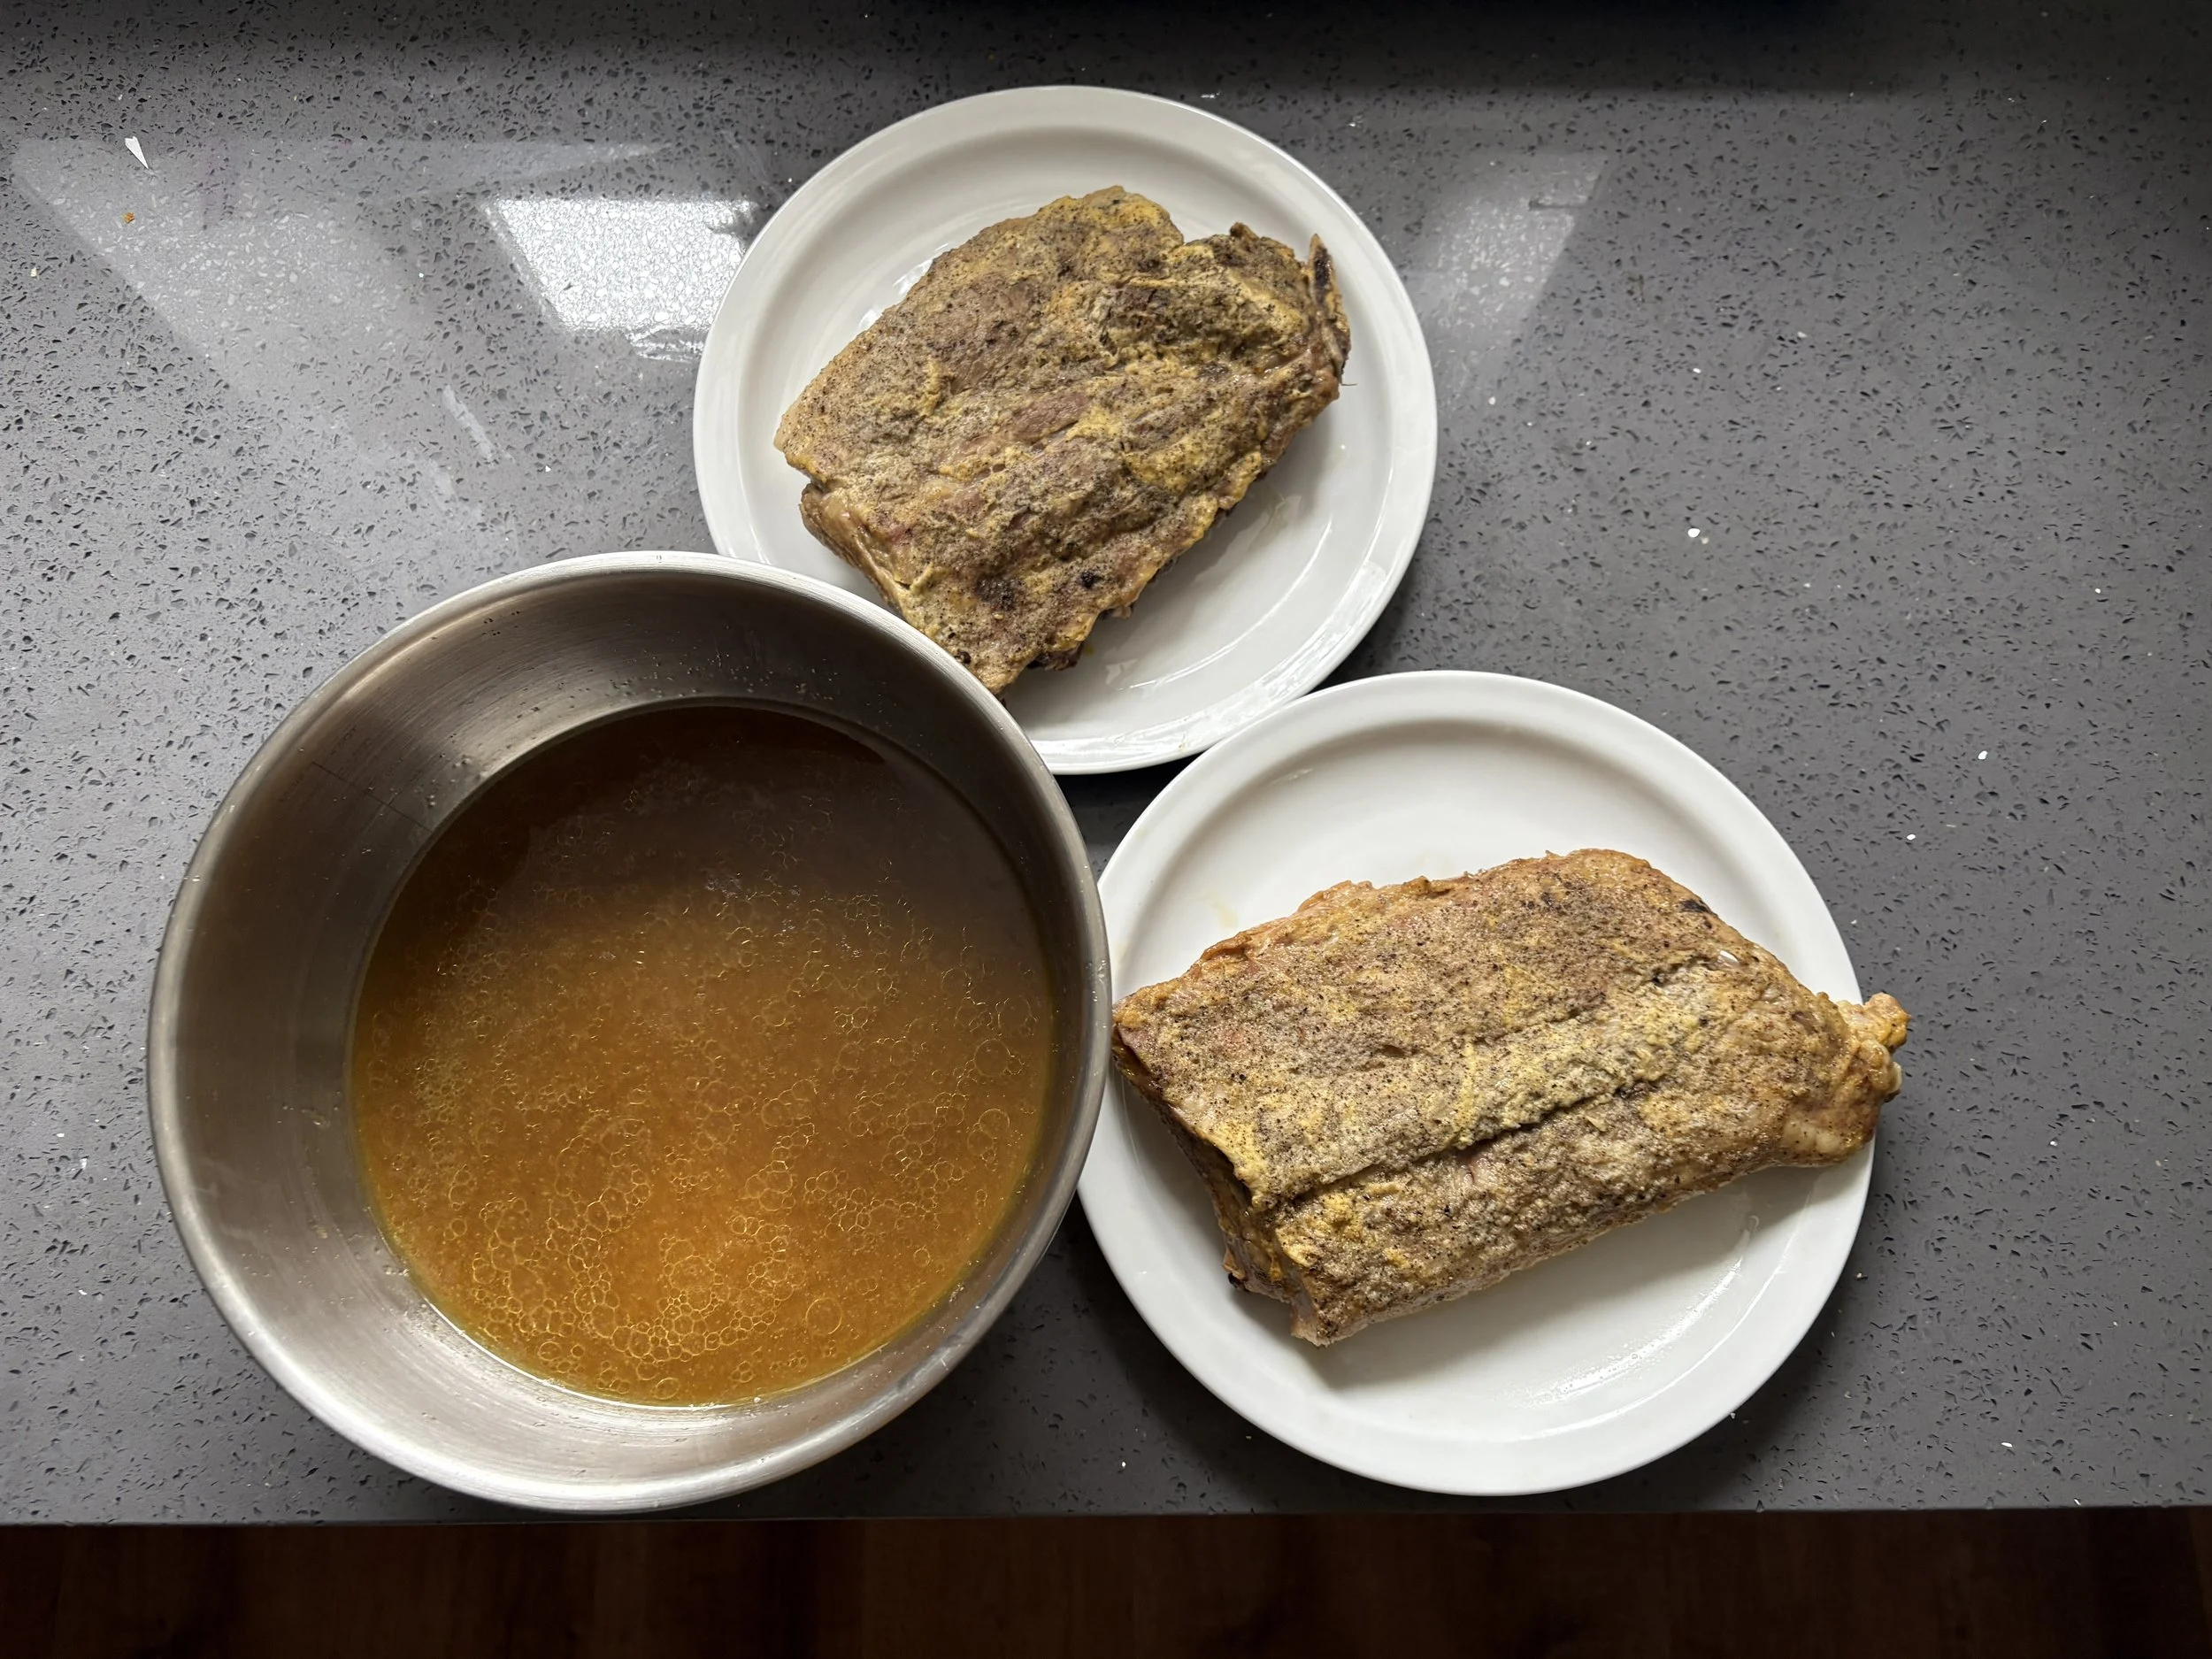
Gently pull the ribs out of the pans and cut them into individual bone portions, set aside
Take the braising liquid from the two pans and pour it through a fine mesh strainer catching all of the veg the ribs braised with
Place the cut ribs horizontally back into one of the 9x13 pans and then pour over the strained braising liquid submerging the cut ribs
Cover and place in the fridge for 8hrs minimum, but up to 2 days, until you are ready to serve the ribs
Finishing, Saucing, & Tossing
Pull the ribs out of the fridge, and wiggle each out of the chilled braising liquid
Heat one or two pans over medium high heat (You don’t want to over crowd one pan so if heating all the ribs best to do in batches or in multiple pans)
Place a 1/3 cub of the braising liquid, the Honey, Soy Sauce, and Sriracha in a pan and stir to combine into a suace
Then add the ribs to the sauced pan starting horizontally to heat the meat
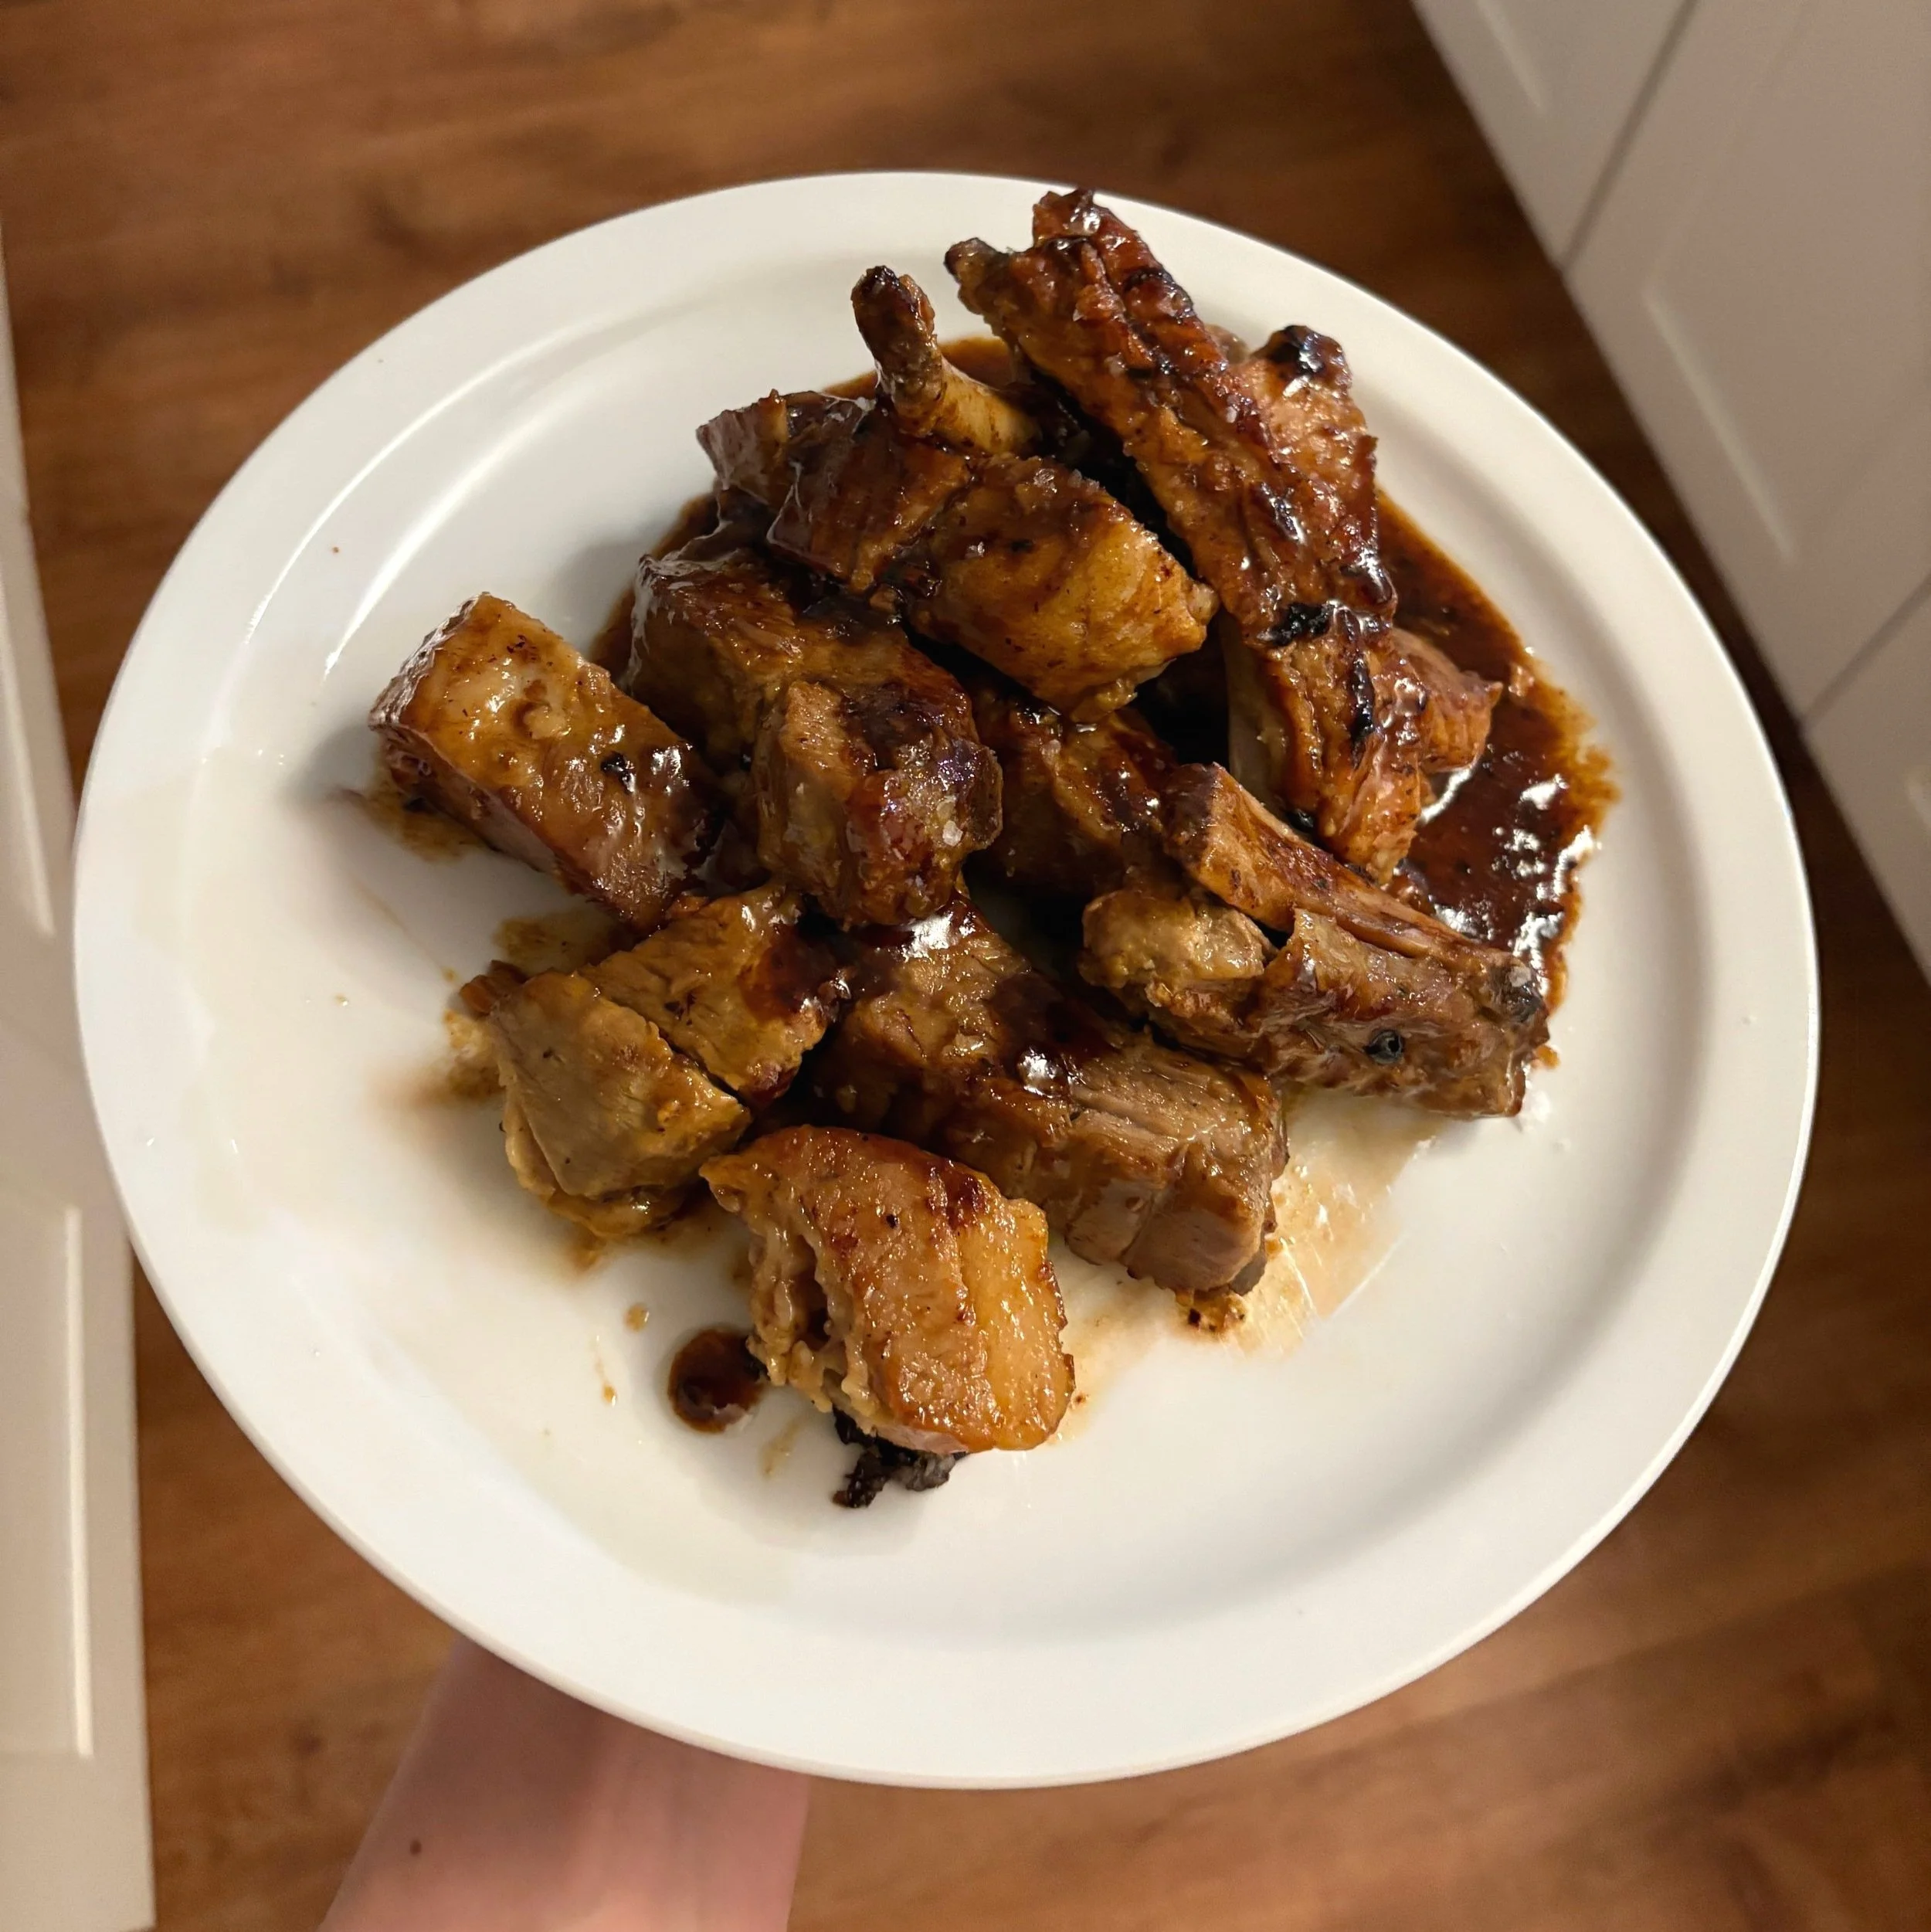
Allow the ribs to brown on one side, and flip to brown the other, the sauce should thicken naturally as the ribs caramelize.
When the ribs have browned a bit on each side, start to toss them a bi looser in the pan, insuring that all parts of the rib get covered and sticky
Serve immediately with flake salt a top!
Notes
Could be nice to add fennel or five spice to the dry rub mixture to up some flavor notes and harmonize with the ginger
This is a great recipe for entertaining, all of the work can happen before guests arrive, and at the time of the event all that is needed is reheating and sauce tossing!
If the ribs start to fall off the bone in the finishing process that is not the end of the world, if anything it means they are braised to perfection, and they might be able to pick up more sauce too!
Great to serve with a coleslaw, potato salad, or raw broccoli salad